Here are a few tips on how to film yourself for a CVD video. In order to be more comfortable, you might want to have a friend around, or maybe you feel better alone, that’s up to you. We just hope you feel comfortable in order to do this video. Here you’ll find the key points that will allow you to make a quality video.
1 - Script
We will provide you with a series of questions that are adapted to your situation and the job you are looking for. Prepare your answers in advance so they are concise, precise and straight to the point. There are usually five questions, so your answers should be between 15 and 20 seconds long. Do not hesitate to write them or print them out so you have them on hand.
Important: The whole film is going to be a maximum of 2 minutes, so make it really concise.
2 - Environment
Surroundings
You can shoot indoors or outdoors. Unless you have a wireless microphone, I recommend shooting indoors because there will be less noise. If you choose to film yourself outside, you could go for a natural background or a specific landmark that would be significant for your video.
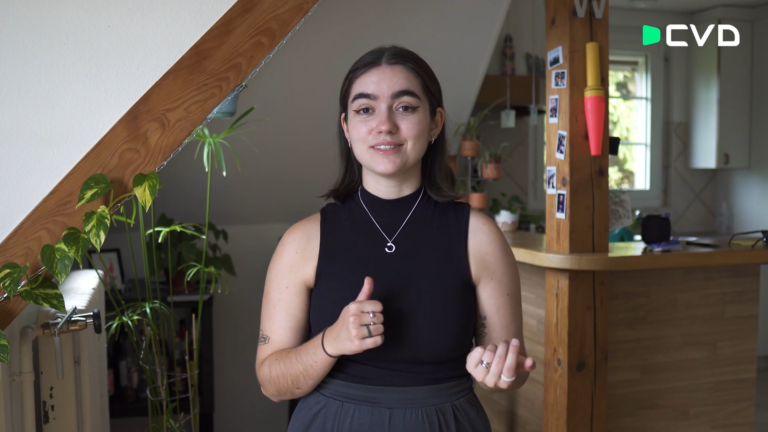
Example of an indoor environment
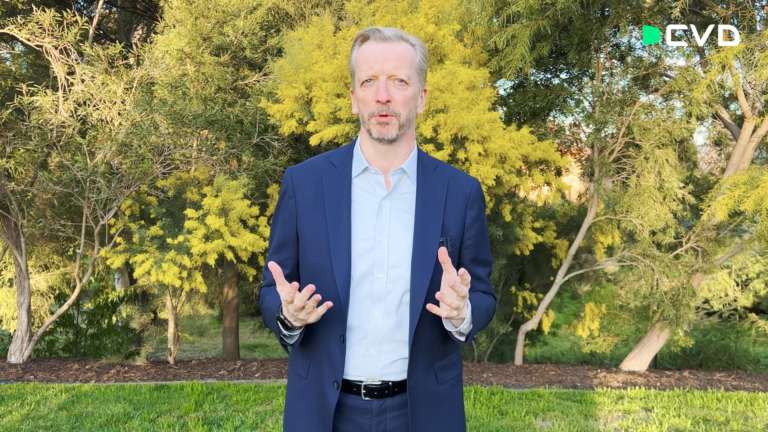
Example of an outdoor environment
Light
Light is really important, so when you are choosing your location, make sure you’re facing the lights. That would be a window or the sky, to avoid any backlighting. If you’re filming yourself outside, it’s better to stand in the shade because the light will be uniform and not on one part of your face or the other. If you are indoors, you should avoid artificial lights. Do it in the during the daytime with a natural lighting. It would be best.
3 - Settings & Gear
Smartphone
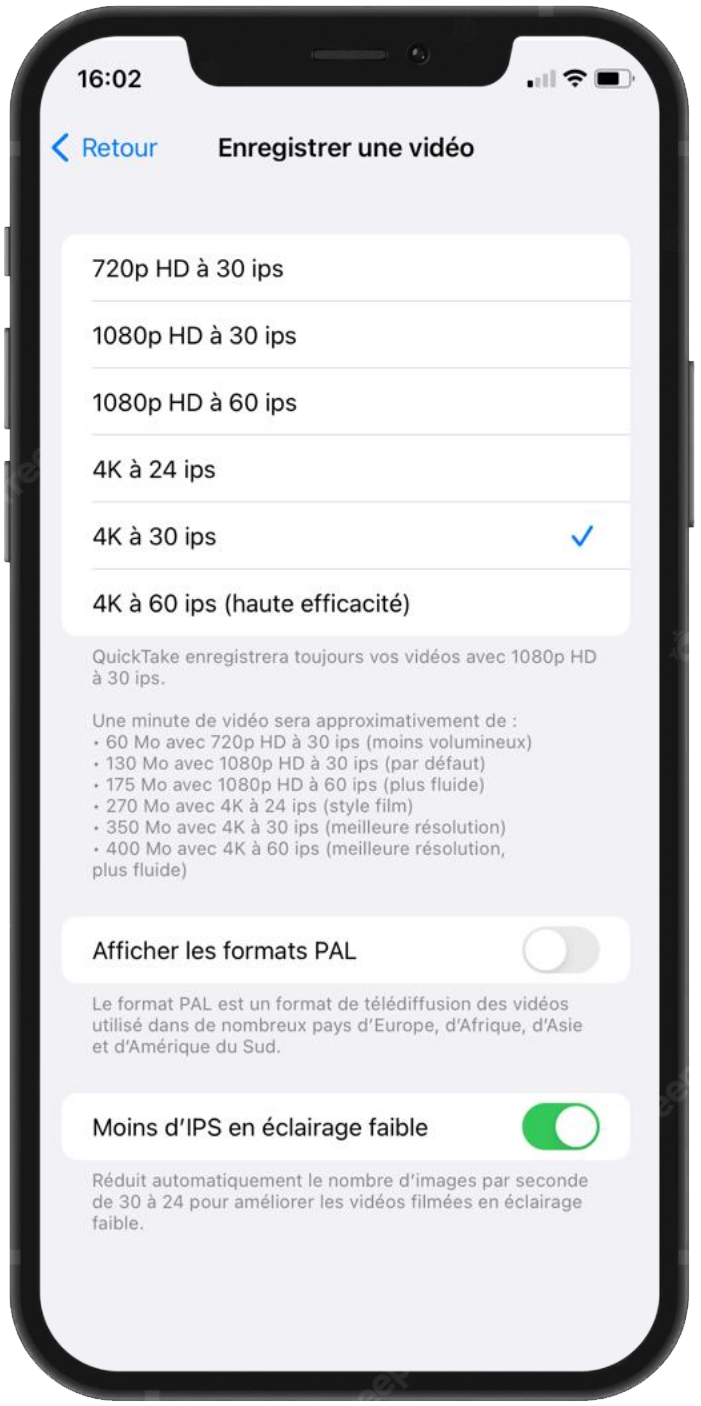
You will be shooting this video with your smartphone, so we recommend using the highest settings as you can. 4k and 30fps is otpimal. Don’t hesitate to go into the settings of your phone and check these boxes so that you get the best results.
Tripod
In order to get professional results, you will need to have your camera really steady. So if you have a tripod, that’s good. Put it on there.
Tip: If you don’t own a tripod, you could pile up some chairs or some books.
4 - Framing
Take a few steps back
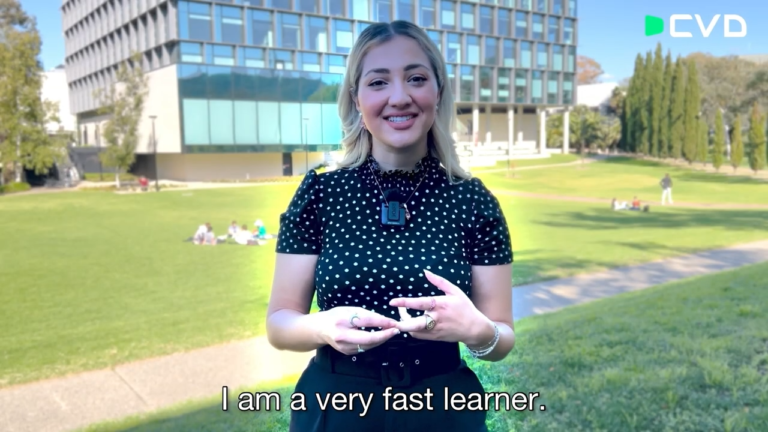
You will be framing yourself horizontally for this video. You should frame from the hips so that we can see your hands when you are speaking, and you should leave a small space at the top of your head. This is really important because we will be making some editing, like zooming in and zooming out. So this leaves us plenty of space to work with.
Angle
Your phone camera should not have an angle, so it should be really quite straight. And this will avoid you being squished or distorted. You really have to project your voice because the microphone has to pick up your voice. Also, another tip is to really look into the camera lens rather than looking at your own image. To make it easier, you can have a friend stand right next to the camera and look at them in the eye as you speak.
Tip: Using a free app like Teleprompter to see your text while recording will make the process easier
5 - Recording & File Transfer
You can choose to film all your answers in a row, or you could split it however you like. You can repeat the answers to the questions as many times as you would like.
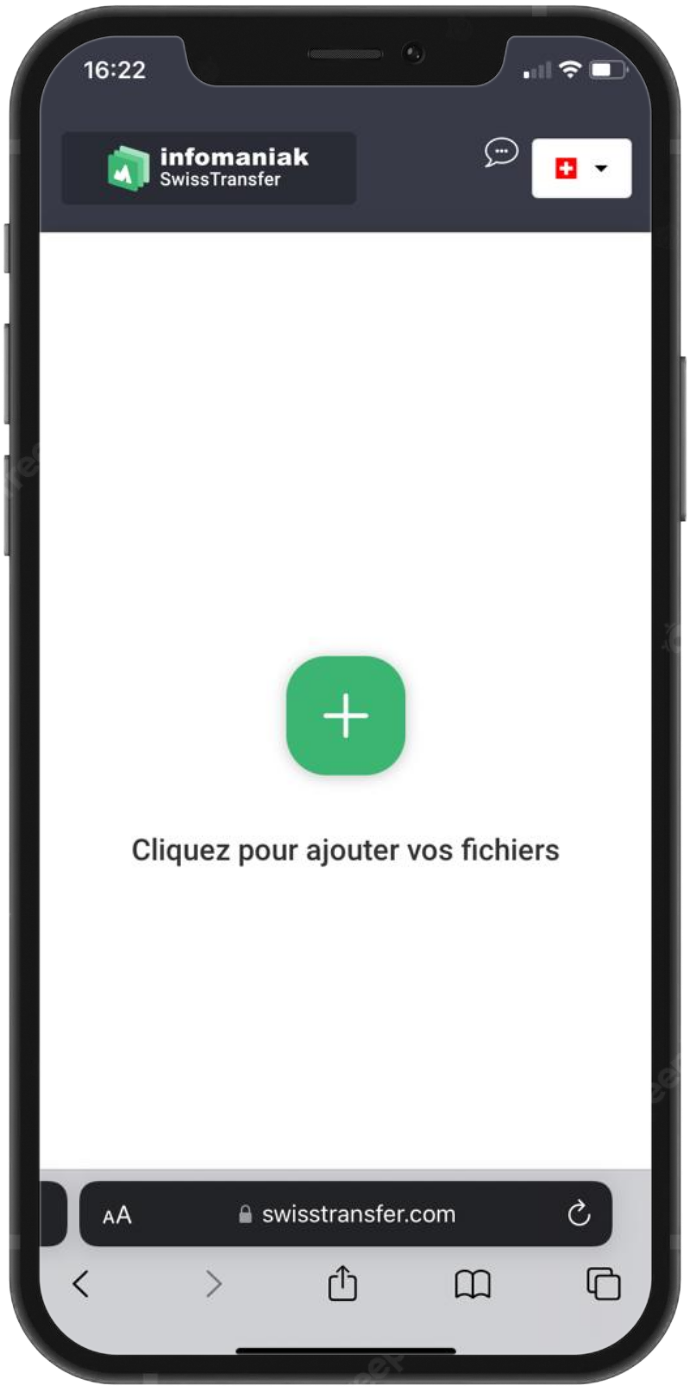
Once you are done, you can then send us your files via a web tranfer.
To do so, visit swisstransfer.com and upload your files. Once the uplaod is complete, retrieve the link and send it to us. Within the next two weeks, you will receive your edited CVD.